The Ultimate Fingerboard Setup Guide: From Parts to Pro Performance
So, you’ve got your fingerboard parts ready—deck, trucks, wheels, and all the little extras. But how do you turn them into a smooth-riding, trick-ready setup? Whether you're a beginner or looking to fine-tune your pro board, this step-by-step guide will get you shredding in no time.
🛠 Tools You’ll Need
- ✔Maple wood finger skateboards wide board pro fingerboards set
- ✔ Phillips screwdriver (for truck screws)
- ✔ Hex key (for some high-end trucks)
- ✔ Hobby knife (for grip tape trimming)
📌 Step-by-Step Assembly
1️⃣ Apply Grip Tape (The Right Way)
1、Clean the deck – Dust-free = better stick.
2、Align & press – Center the grip tape, smooth it down from one end to avoid bubbles.

3、Trim the edges – Use a sharp blade at a 45° angle for a clean finish.

2️⃣ Mount Your Trucks (Keep ‘Em Tight!)
1、Poke holes – Use a screwdriver to mark where the truck screws go.

2、Screw ‘em in – Start with opposite corners (top right → bottom left) to avoid warping the deck.

3、Adjust tightness – Beginners should keep trucks slightly tighter for stability.
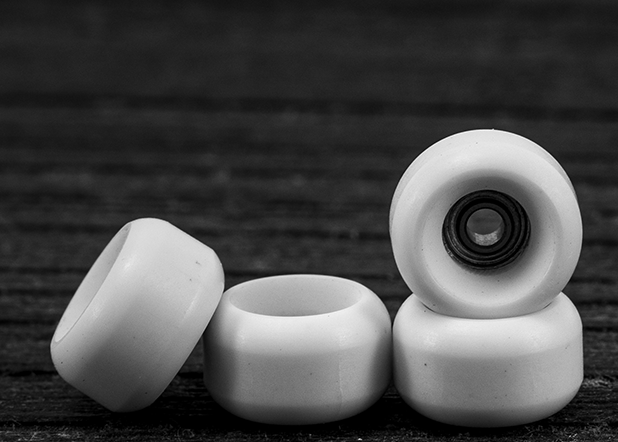
3️⃣ Install Wheels (Smooth Rolls Only)
1、Press in bearings – Gently push them into the wheels (a flat surface helps).

2、Attach to trucks – Slide wheels onto the axles, tighten the nuts (but don’t over-tighten).

3、Test spin – Give it a push—wheels should roll freely without wobbling.
4、Complete fingerboards:

⚙ Advanced Tweaks (For the Pros)
Want next-level performance? Try these:
- Truck tightness – Looser = sharper turns, Tighter = stable for flips.
- Wheel hardness – Soft (65D-70D) for quiet cruising, Hard (95A+) for technical tricks.
🔥 Recommended Complete Setups
| Best For | Why It Rules |
| Beginner | Maple fretboard + Alloys trucks + CNC Wheels = Easy control |
❓ Need More Help?
Email us: wandergrind@gmail.com